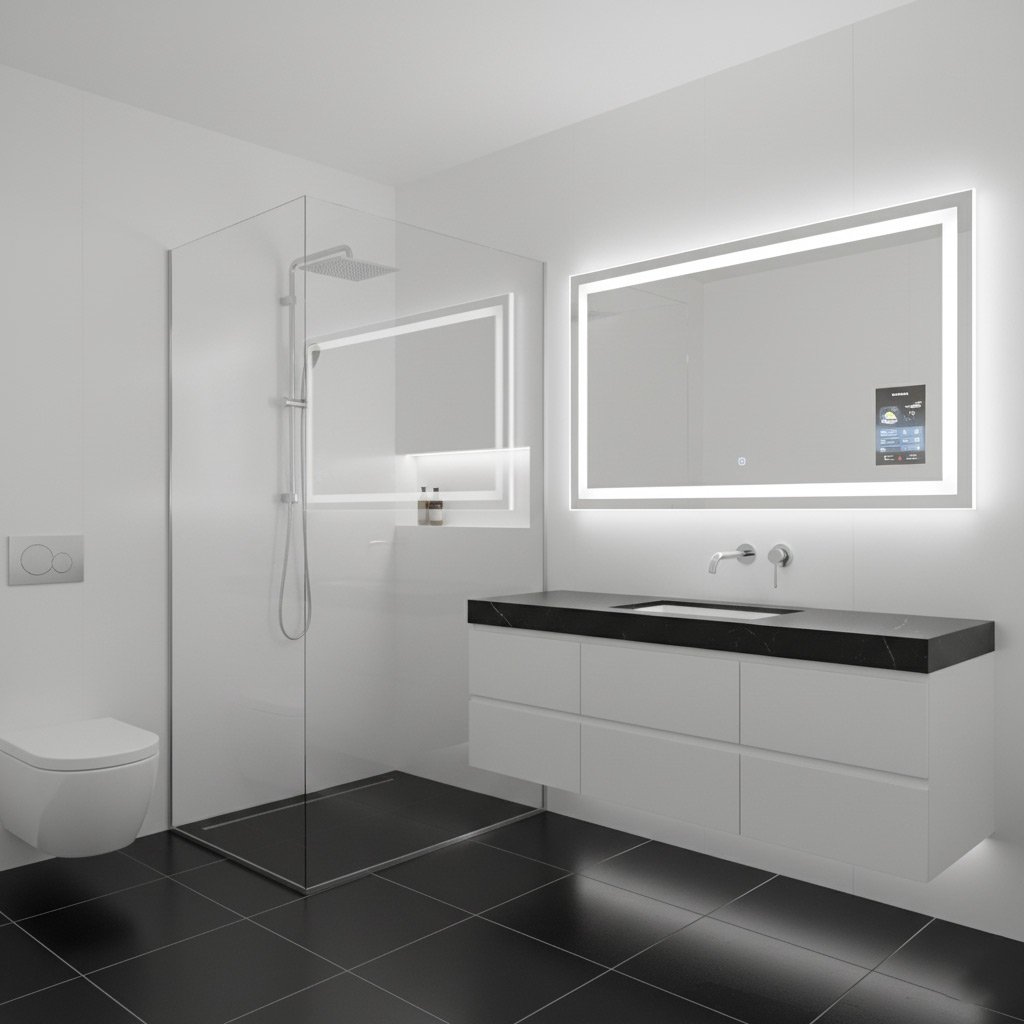
Imagine stepping into a sleek, glass‑enclosed shower the moment you flip the switch, the water cascading just where you want it—no more clunky tub edges stealing precious floor space.
In Surprise, AZ, the desert heat makes a quick, invigorating shower a daily luxury, and swapping that old tub for a modern shower can boost your home’s value faster than a fresh coat of paint.
We’ll walk you through every decision point—layout, waterproofing, fixtures, and permits—so you can avoid costly missteps and finish the job on time and on budget.
Ready to see how a smart tub‑to‑shower conversion can transform your bathroom and your mornings? Keep reading and discover the exact steps you need to take.
Evaluating Your Current Bathroom Layout and Setting a Realistic Budget
Measure twice, cut once
Grab a tape measure and note the length, width, and ceiling height of your bathroom. Mark the location of doors, windows, and existing plumbing on a simple sketch. This quick visual tells you whether a straight‑run shower fits or if you need a corner niche.
Don’t forget the hidden obstacles: vent fans, electrical boxes, and the distance to the main drain. A few minutes of honest measurement saves weeks of re‑work later.
Know what you can afford
Start with a ballpark figure—most tub‑to‑shower projects in Surprise run between $5,000 and $12,000. Break that down into three buckets: demolition, waterproofing, and finishes.
- Demolition & disposal: $800‑$1,500
- Waterproofing system: $1,200‑$2,500
- Tiles, fixtures, labor: $3,000‑$8,000
Add a 10‑15% cushion for unexpected surprises—like a rusted pipe that needs replacement. With a clear budget in hand, you can chase style without blowing the bank.
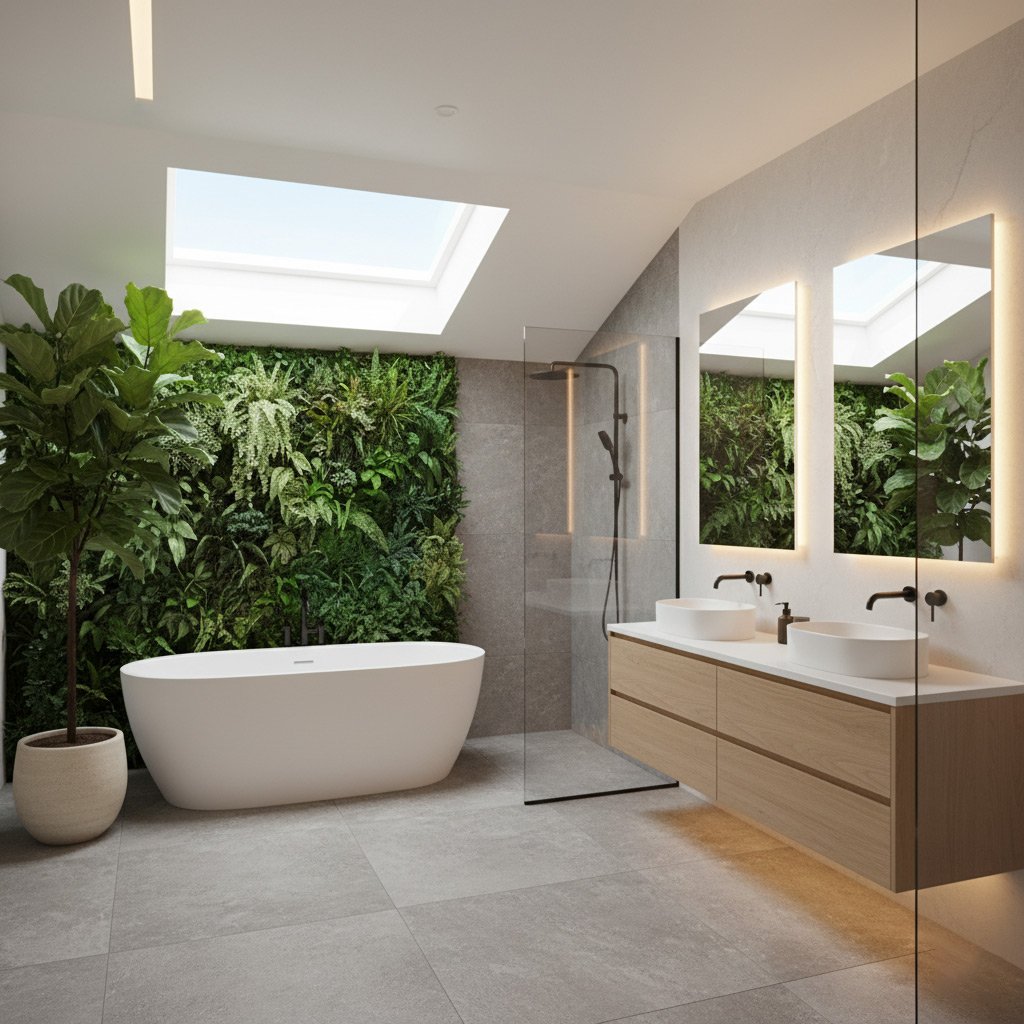
Designing a Functional and Stylish Shower Layout Tailored to Surprise Homes
First thing’s first: measure the space you have. In a typical Surprise home, the bathroom is often a tight rectangle, so you’ll want a layout that maximizes every inch. Think walk‑in, corner, or linear shower—each has a sweet spot depending on door swing and existing plumbing.
Pick the right footprint
- Walk‑in shower: Ideal for open‑concept bathrooms. Gives you room to move, adds a spa vibe.
- Corner shower: Saves space, perfect when the tub sits against two walls.
- Linear (straight‑line) shower: Works well in longer rooms, creates a sleek, modern line.
Once you’ve chosen a shape, decide on the entry. A low‑threshold or curbless entry feels luxurious and is easier for kids and seniors. Keep the door or glass panel on the side that won’t clash with the vanity or toilet.
Next, think about flow. Position the shower head where you can stand comfortably without hitting the wall. A rainfall fixture over a bench or built‑in seat adds comfort without sacrificing space. Add a handheld sprayer on the opposite wall for flexibility—great for rinsing off after a workout at the gym.
Selecting the Ideal Waterproofing System and Materials for Desert Climate Durability
Why Desert‑Ready Waterproofing Matters
Surprise’s scorching days and sudden monsoon bursts put a lot of stress on a shower’s barrier. Heat causes concrete and tile grout to expand, while rapid cooling at night can create tiny cracks that let water sneak in. One leak can ruin drywall, mold the subfloor, and cost you thousands.
Top Waterproofing Systems for Arizona Homes
Pick a system that can handle both heat and moisture without cracking. Here are the three proven options:
- Liquid‑applied membranes – roll‑on or spray, they form a seamless film that flexes with temperature swings.
- Sheet membranes (e.g., PVC or CPE) – tough, puncture‑resistant, and great for DIYers who like a clean, flat surface.
- Cementitious coatings – budget‑friendly, but they need a perfect substrate and a top‑coat of a flexible sealant.
Installation Tips and Material Picks
Even the best membrane fails if it’s not applied right. Start with a clean, dry substrate; any dust or oil will ruin adhesion. Prime the surface with a compatible primer, then follow the manufacturer’s overlap rules – usually 2‑inches on walls and 4‑inches on floors.
For the desert, we recommend:
- FlexSeal® 2‑Part Liquid Membrane – holds up to 200°F and resists UV degradation.
- Schluter® Kerdi‑Board with Kerdi‑Seal – a sheet system that stays flexible when the house expands.
- Custom‑blended polymer‑modified cement for the floor slab, topped with a silicone‑based sealant at corners.
Finish with a properly sloped shower pan (1/4‑inch per foot) and a quality grout that’s epoxy‑based. That combo keeps water where it belongs – inside the shower, not behind the walls.
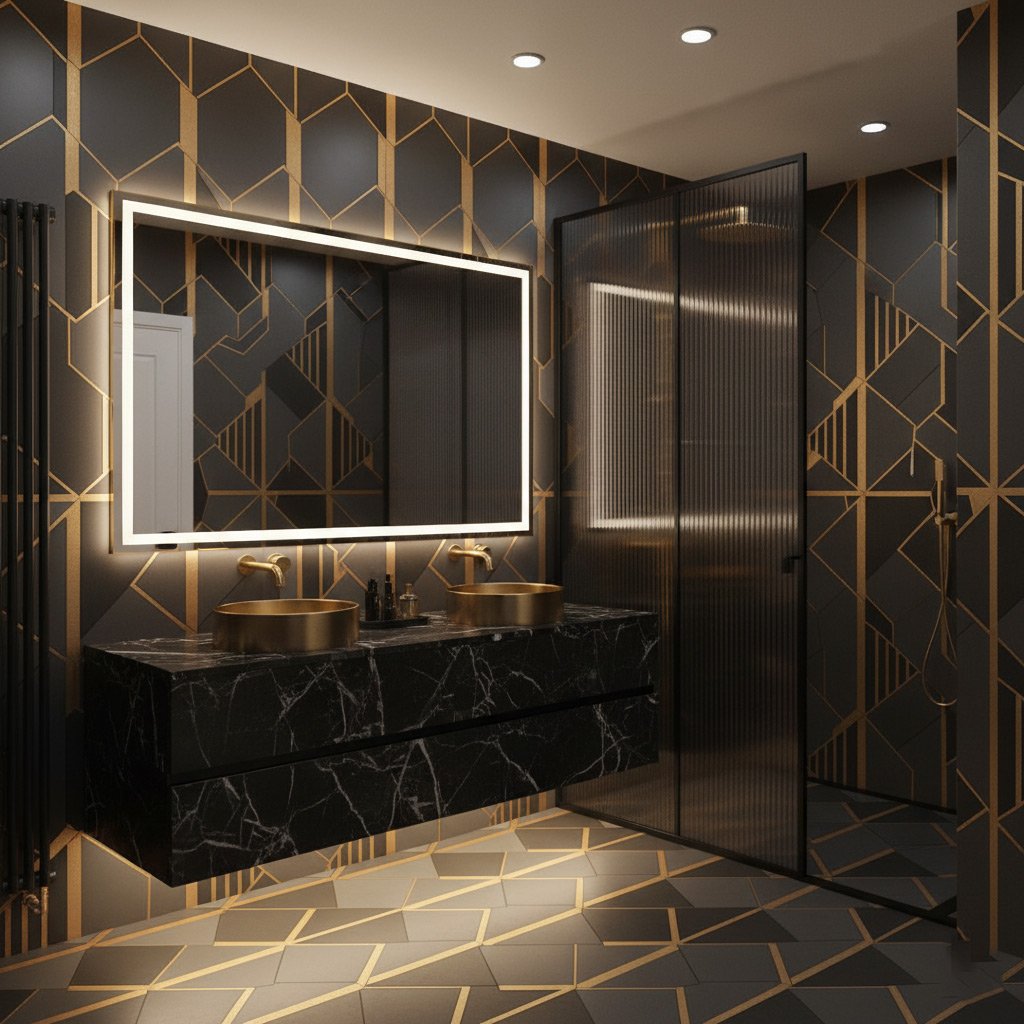
Choosing Fixtures, Tiles, and Finishes That Complement Arizona’s Aesthetic and Heat
Smart Fixture Picks for Desert Living
In Surprise, a shower head that delivers a strong, even spray cuts down on water waste while giving you that instant cool‑down you crave after a scorching day. Look for thermostatic valves that lock in your preferred temperature—no more surprise cold blasts when the water finally hits.
Finish choices matter too. Matte black or brushed nickel hardware resists fingerprints and blends seamlessly with the earthy tones of a Southwest‑style bathroom.
Tile Selections That Beat the Heat
Porcelain and natural stone tiles are the go‑to for Arizona homes because they stay cool underfoot and shrug off the sun’s relentless glare. Choose a light‑colored base to reflect heat, then add a bold accent strip for visual punch.
- Sand‑hued porcelain mimics the desert floor and hides dust.
- Terrazzo with specks of copper adds a subtle sparkle without screaming “trend”.
- Textured slate offers slip resistance and a rugged look that ages well.
Finishes That Tie the Whole Look Together
When you pick a grout color, go a shade darker than the tile to hide inevitable stains—especially important in a high‑traffic shower. For trim and shelving, oil‑rubbed bronze adds warmth without clashing with the cool tile palette.
Don’t forget the small stuff: a recessed niche for shampoo, a low‑profile towel bar, and a sleek glass door with a low‑E coating to keep the bathroom from turning into a sauna.
Understanding Permits, Building Codes, and Hiring the Right Contractor in Maricopa County
Permits You’ll Need
Before you swing a hammer, the city of Surprise requires a plumbing permit and a mechanical permit for any shower conversion. Skipping this step can lead to fines and a forced teardown later.
Grab the forms from the Maricopa County Planning & Development Services website or swing by City Hall. A quick call to the permit office can confirm if you also need a electrical permit for new lighting or vent fans.
- Plumbing Permit – covers drain, supply lines, and water‑tightness.
- Mechanical Permit – required for new exhaust fans or heated flooring.
- Electrical Permit – only if you’re adding outlets or new lighting.
Key Code Requirements in Maricopa County
Arizona’s building code is strict about moisture control. Your shower must have a waterproof membrane that meets ASTM C1177 standards.
Ventilation isn’t optional; the code mandates a minimum of 50 CFM exhaust for every shower. That’s why a properly sized fan is a must‑have, not a nice‑to‑have.
- Minimum 6 inches of clearance from the shower curb to any electrical outlet.
- Shower pan slope must be at least 1/4 inch per foot toward the drain.
- All fixtures need to be listed for “wet locations.”
Choosing the Right Pro
Don’t just pick the lowest bid. Look for a contractor who holds a valid Arizona State License and is familiar with local code nuances.
Ask for three references from recent tub‑to‑shower jobs in Surprise. A reputable pro will gladly share photos, timelines, and any hiccups they overcame.
- Verify insurance – workers’ comp and general liability.
- Check reviews on the Better Business Bureau and Google.
- Get a detailed, written estimate that breaks down labor, materials, and permits.
Case Study: From Outdated Tub to Modern Shower – A Successful Conversion in a Surprise, AZ Home
The Starting Point
When the Martinez family moved into their Surprise home, the bathroom featured a cracked, porcelain tub that ate up half the floor. They wanted a sleek shower that could handle the desert heat without turning the room into a sauna.
Key pain points they faced:
- Limited floor space – the tub left barely enough room to step out.
- Leaky caulking that caused water damage on the adjacent wall.
- Outdated fixtures that clashed with the modern aesthetic they craved.
The Conversion Process
We partnered with a local, licensed contractor who specializes in Maricopa County codes. Within two weeks, the old tub was ripped out, the subfloor reinforced, and a drain‑first waterproofing membrane installed to survive the Arizona heat.
Design choices that made the difference:
- Large, slip‑resistant porcelain tiles in a light sand tone – they reflect heat and keep the space bright.
- Frameless glass enclosure with a low‑profile chrome handle – minimal visual clutter.
- Thermostatic shower valve set to 105°F – perfect for a quick, invigorating rinse.
Results That Speak for Themselves
Three months after the remodel, the Martinez family reported a 30‑second shave in morning prep time and a noticeable drop in bathroom humidity. The home’s appraisal reflected a 5% increase in market value, largely credited to the updated shower.
Bottom line: a well‑executed tub‑to‑shower conversion not only frees up space but also adds real equity in Surprise’s competitive market.
Final Words
Before you swing that hammer, lock in the details that keep the project from turning into a money‑sink. A clear contract, a timeline that respects your schedule, and a written warranty from your contractor are non‑negotiables. Don’t sign anything until you’ve double‑checked the scope and the payment milestones.
Next Steps to Keep the Momentum
- Grab a copy of the Tub to Shower Conversions checklist and run it by your chosen plumber.
- Schedule a final walkthrough with the city’s building inspector to confirm you’ve met every code requirement.
- Order all tiles, fixtures, and waterproofing membranes at least two weeks before demolition starts.
When the dust settles, you’ll have a shower that feels like a spa retreat—no more fighting for space, no more water‑logged corners. Enjoy the instant payoff every morning, and watch the resale value climb as quickly as the desert sun rises over Surprise.
People Also Ask
What is the average cost to convert a tub to a shower in Surprise, AZ?
The conversion typically ranges from $4,000 to $9,000, depending on the scope of work, materials chosen, and any structural modifications required. Adding premium tile or custom fixtures can increase the price.Do I need a permit for a tub‑to‑shower conversion in Maricopa County?
Yes, most municipalities in Maricopa County, including Surprise, require a building permit for any plumbing or structural changes. Your contractor should handle the permit application and inspection process.How long does a tub‑to‑shower remodel usually take?
A standard conversion can be completed in 1 to 2 weeks, assuming no unforeseen issues with plumbing or waterproofing. Larger projects with custom tile work may extend to 3 weeks.What waterproofing system works best for the desert climate?
A liquid‑applied membrane combined with a drainage plane provides excellent protection against heat‑induced expansion and moisture infiltration. Look for products rated for high‑temperature environments.Can I keep my existing bathtub plumbing when converting to a shower?
In many cases, the existing drain and water supply can be reused, but the layout may need adjustments to meet code requirements and ensure proper slope for drainage. A licensed plumber can assess compatibility during the design phase.Surprise Bathroom Remodel brings over a decade of specialized bathroom renovation expertise to homeowners throughout Surprise, Arizona. Their team combines skilled craftsmanship with a deep understanding of local design trends to deliver functional, stylish spaces. Committed to personalized service, they work closely with each client to ensure every remodel reflects the unique character of the community.
Need Bathroom Remodel?
We transform your bathroom into a modern, functional space in days, not weeks. Serving Surprise and nearby ZIPs (85374, 85379, 85345, 85381, 85301).
Get Bathroom Quote